My Take on Sourdough Bread
Introduction
Don’t you hate it, when you feel like making pancakes, can’t remember the measurements, then google - only to find 254’000 hits. Then scroll through the top ones, but instead of the wanted information you’re confronted with endless sappy childhood memories, nine pop up advertisements about pillows (because the wife had done Christmas shopping earlier), fifteen bullet points of well meant but insignificant pieces of advice only to find the three line recipe at the bottom of the pit that is a webpage? Yeah, we’ve all been there – aged and lost appetite before finding out we didn’t even have enough eggs in the fridge. Well, this recipe is different. Mostly written down for my own reference and for someone who might find this interesting, so bear with me.

Getting Started
You’ll need some utensils:
- Container with a screw lid, such as a 500g jam jar. Preferably it should not be too tall, wide and squat works better. Also, you should be able to easily reach inside with your fingers. If the container grows too narrow near the rim, cleaning the inside walls with a piece of kitchen roll can be tricky.
- A couple of clean tea spoons. A rubber spatula/scraper (optional).
- Kitchen scale.
- Kitchen roll.
There’s only two ingredients necessary to get the sourdough started:
- Rye flour
- Tap water
Procedure
Make sure that all the utensils are spotless. Best wash and rinse them thoroughly and then dry them off.
Add 50g of rye flour and 50g of water to the container. Use one of the spoons to mix the flour and water thoroughly. Make sure you don’t leave any “dry pockets” of flour. Try not to spread it too much up the walls of the container. That stuff is extremely sticky. Once mixed, use the second spoon or the spatula to scrape the dough sticking to the first spoon back into the mixture and to push the dough sticking to the walls down. Use kitchen roll to clean any remaining bits from the inside walls of your container.
It must be spotless.
Any smudges will form a breeding ground for mold and other unwelcome microbial guests.
Loosely fit the lid on the container. Do not close it tightly. The gases produced by the wild yeast contained in the rye flour could cause your container to burst.
Place the container in a moderately warm, preferably dark, spot. The TV cupboard containing my internet router proved to be a good spot.
After roughtly 24h add 10g of fresh rye flour and the same amount of tap water. Mix, clean, close and put it back into the cupboard.
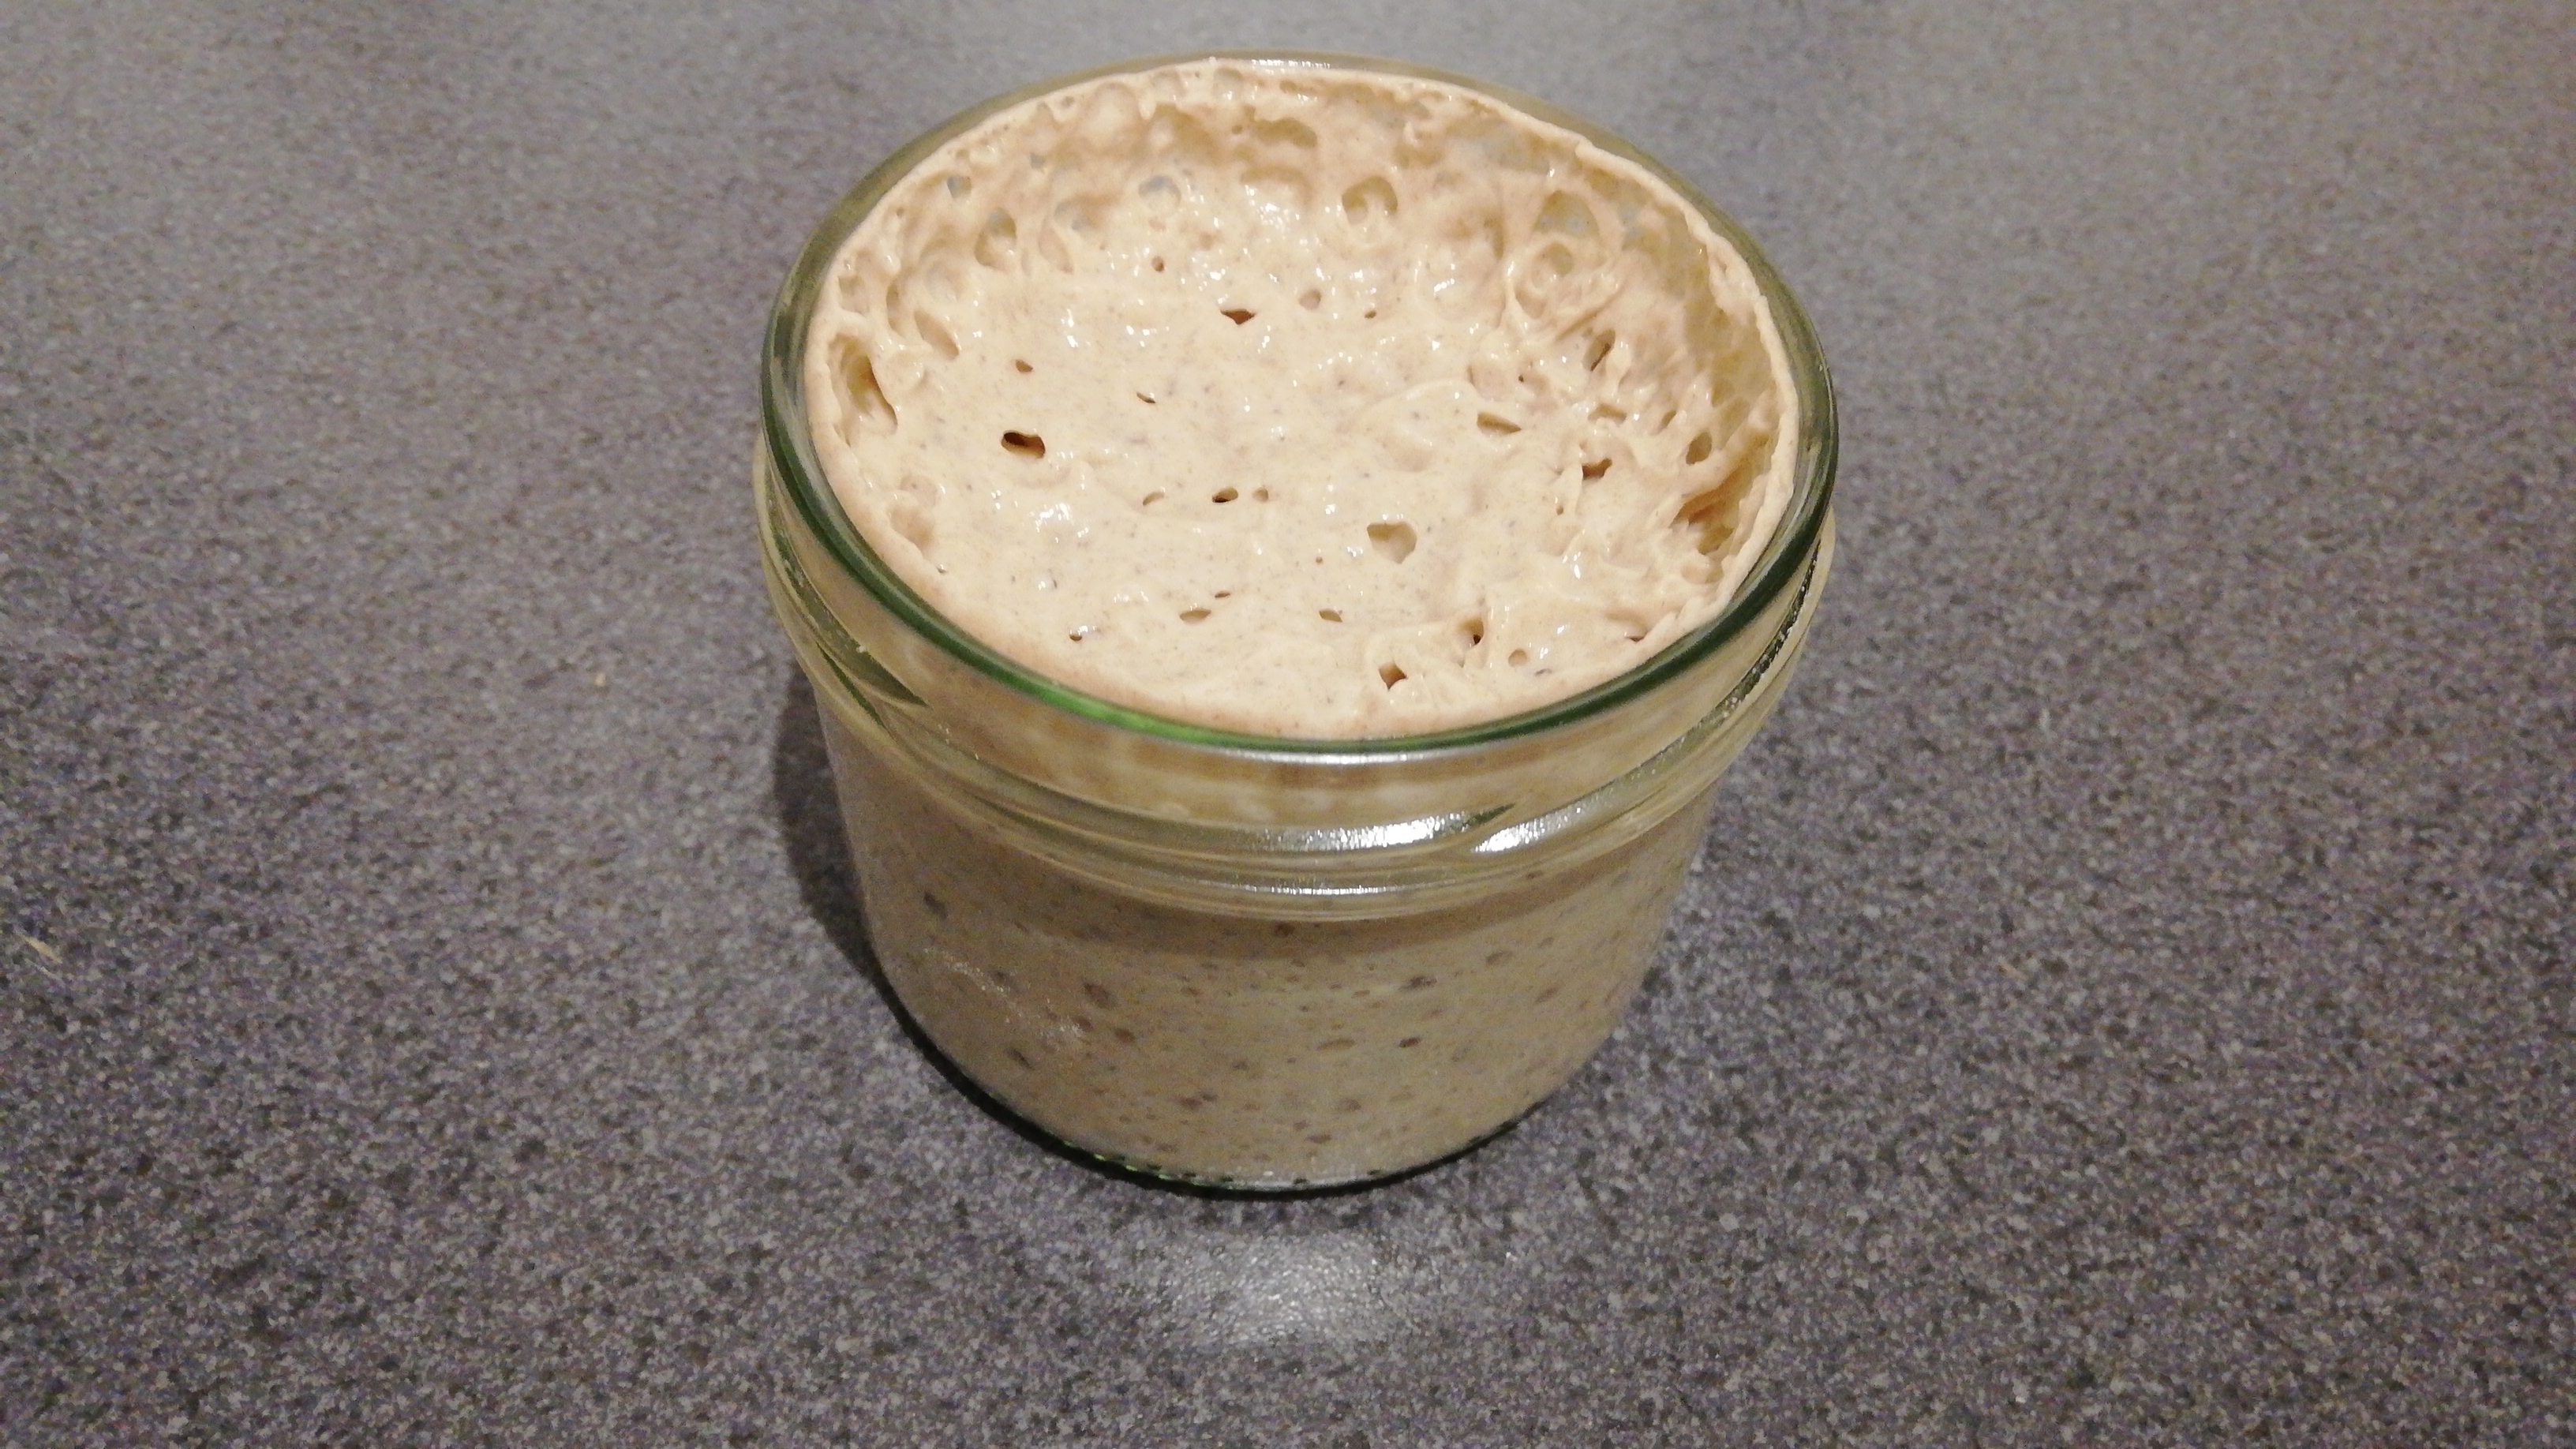
Repeat this for about a week. During this time the dough should start to form bubbles and develop interesting smells. Do not be alarmed if these smells initially aren’t too pleasant. However, watch out for mould. If yhou see any, there’s no saving the dough. You’ll have to start over. Sorry. However, if all went well, the dough should have a yeasty smell after a few days.

You might need to transfer the dough into a bigger container at this point. Otherwise you risk it overlowing when it starts to outgrow its confinement. And rye dough is easily the most sticky substance known in the entire universe.
Making Sourdough Bread
There are many ways of making sourdough bread. Mine certainly does not follow the pure teachings and age old traditions. It’s what I like.
The list of ingredients:
- 300g wheat flour type 1100. This type of flour contains parts of the bran. It is darker in colour and carries more flavor than plain flour. It is somewhere between whole grain and plain flour.
- 370g plain wheat flour (type 400 or 700).
- 160g sourdough.
- 370ml water.
- 1g fresh yeast (not a typo, comparable to a pinhead in size).
- 16-17g salt.
In terms of utensils I use a kitchen machine with a kneading hook. While you can do the kneading by hand, the rye flour makes the dough very sticky and a pain in the where-it-hurts to work with. Also, manual kneading takes at least 30 minutes; it’s exhausting.
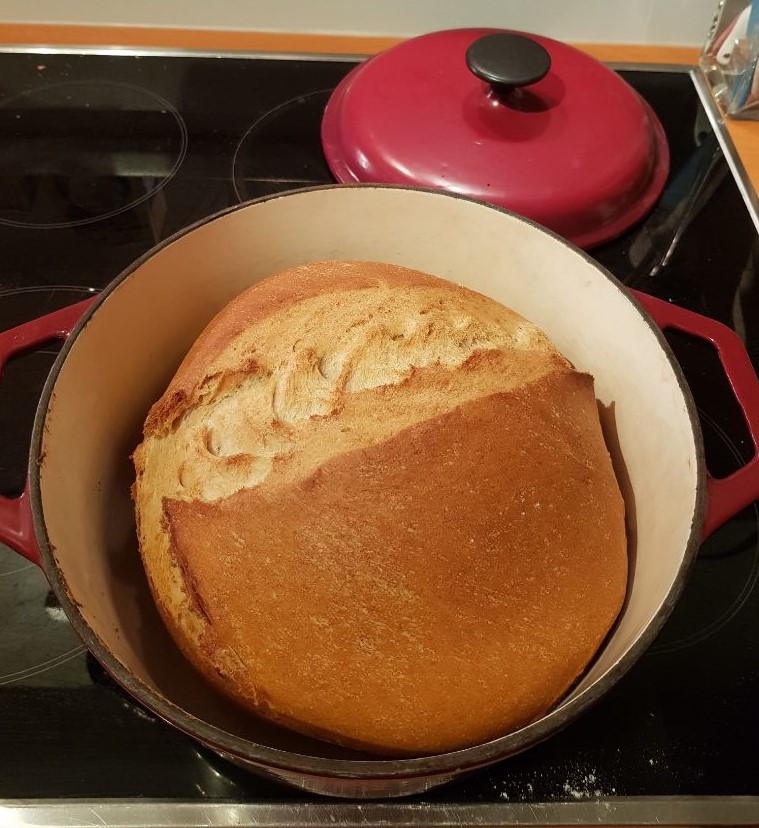
The second, most important item, is a dutch oven; an oven-proof deep pan or pot with a lid that is just big enough to contain the final bread.
Mix all the ingredients except for the salt and use a kitchen machine with the dough hook to thoroughly knead the bread dough for at least 10 minutes at intermediate speed. Finish by stretching and folding the dough multiple times. This helps developing the gluten and give your bread a fibery texture. That’s how you get bread as opposed to cake.
Place the dough back into the mixing bowl and cover it with a wet towel. Every few hours stretch and fold your dough a few times. Let it prove for at least 10 hours before adding the salt during this process. Make sure to evenly distribute the salt and stretch and fold well. Continue proving for some more hours. I like to prove my dough for 14 to 18 hours. In that time the dough should at least double in size.
Once done proving, knock out the big air bubbles with a firm punch and shape the bread. If the dough is very soft, the bread will not keep its shape and flatten out. In that case it is recommendable to use a well dusted proving basket to prevent sticking before putting the bread in. Prove for another hour. In the meantime put the pan with the lid into the oven and preheat to 250°C. Yes, you read right. Blazingly hot.
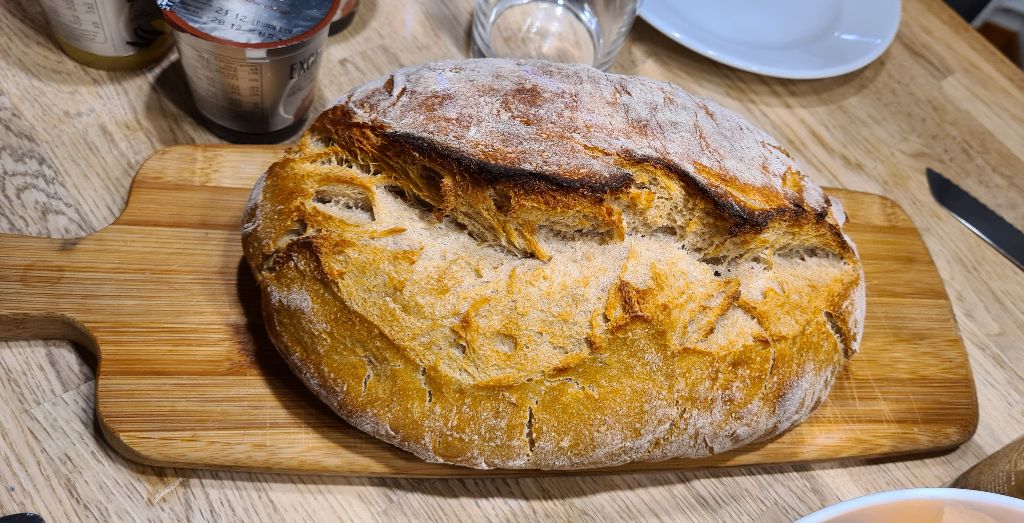
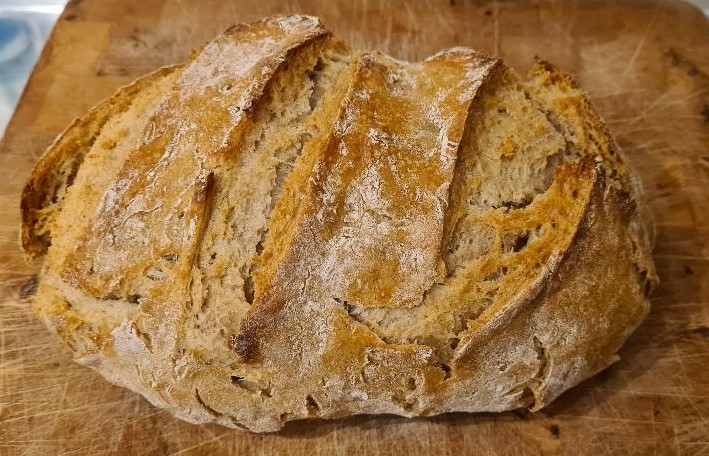
Once the second proving is done, remove the hot pan from the oven, carefully place the bread inside and use a sharp knife to score the top of your bread to your liking. Put the lid back on and put your bread in the oven. Bake for 45 minutes. For a darker result, remove the lid for the last five minutes. When done remove the bread from the pan using a pair of spatula and leave to cool on a cooling rack.

Make sure that there’s no source of moisture nearby. No wet rags, no glass filled with water, etc. The bread will absorb the moisture from the air and go soft.

And voilà. You just produced the most delicious, crispy bread. Showing off to family members and posting on instagram is optional. But I know you will.
Continuing
You should have ample left-overs of sourdough from your first bread. Don’t throw them away! Continue feeding it. If you don’t need that much sourdough, you can also “pause” it by storing the container in the fridge for a few days. Just make sure to do one or two rounds of feeding before using it again.
With time the sourdough will become more potent and its taste more nuanced and richer. Also, it can be a good idea to split off a small portion of sourdough as a “backup” from time to time and store it in the fridge in case your main batch ever goes bad. It’s also great for small presents. Make sure you pass the instructions along.